Loretta

In April of 2014 we purchased a 1957 Boles Aero, Mira Mar. She is 19’ long and all original. We named her Loretta after my wife’s sassy Great-aunt Loretta. Loretta is different than most travel trailers of this period in that the interior skin is a whitewashed birch rather than the usual darker stained interiors. With some TLC we are going to restore Loretta to the fully functional travel trailer that she once was, while preserving the essence of the 1950’s. Check out my surf blog: http://uppertrestles.blogspot.com/

Sunday, October 26, 2014

Heater

So after inspecting the 57 year old Pioneer heater and given the fact that we live in southern California we elected to replace the heater with a magazine rack.  We'll opt for a small space heater/fan; worst case we can always light a burner on the stove.  I'm thinking that by Christmas we should have everything done except the polishing. We'll get that done in Q1 '15. Next on the list is the backsplash and water system.


Poplar and bead board


Saturday, September 13, 2014

New Inner Door Trim

Looks like we're going turquoise. The old hardboard had a few soft spots from water damage. Replaced it and transferred the hole pattern to the new one.  Worked out really well.  Polished the door handle too.


Sunday, August 31, 2014

New Gas Lines and New Drain

Little by little.  Ripped out the 57 year old aluminum gas lines. It wasn't hard most of the lines were split or oxidized so bad that they fell apart. Replaced them with 1/2" black pipe and added a shutoff valve on the door side of the trailer in case we want to cook outside.  We decided to remove the Pioneer heater as it probably isn't safe to use; so we put it in storage just in case we change our minds later. We plan to fill the opening with a magazine / condiments rack. Also put in a new drain in the sink as the old one had rotted through.


Thursday, August 14, 2014

Interior Window Frames

In the last few weeks I've replaced all the galvanized screws for the running lights and bottom cowling on the exterior of the trailer with Stainless Steel screws, painted the interior window frames and did some troubleshooting of the electrical system.

Painted the interior window frames an off-white as opposed to the original primer orange color.  The process steps were:

  1. Power wash window frame
  2. Scotch bright the surfaces to be painted
  3. 70% IPA wipe
  4. Rattle can paint the window frames
I plan to install them this weekend. 


Yup, 13 of them

Tuesday, July 1, 2014

13 Windows!

I can't believe how many windows are on this trailer!  Just finished #8.  Here's the process:

1. Pull eyebrow and window
2. Clean opening down to bare metal
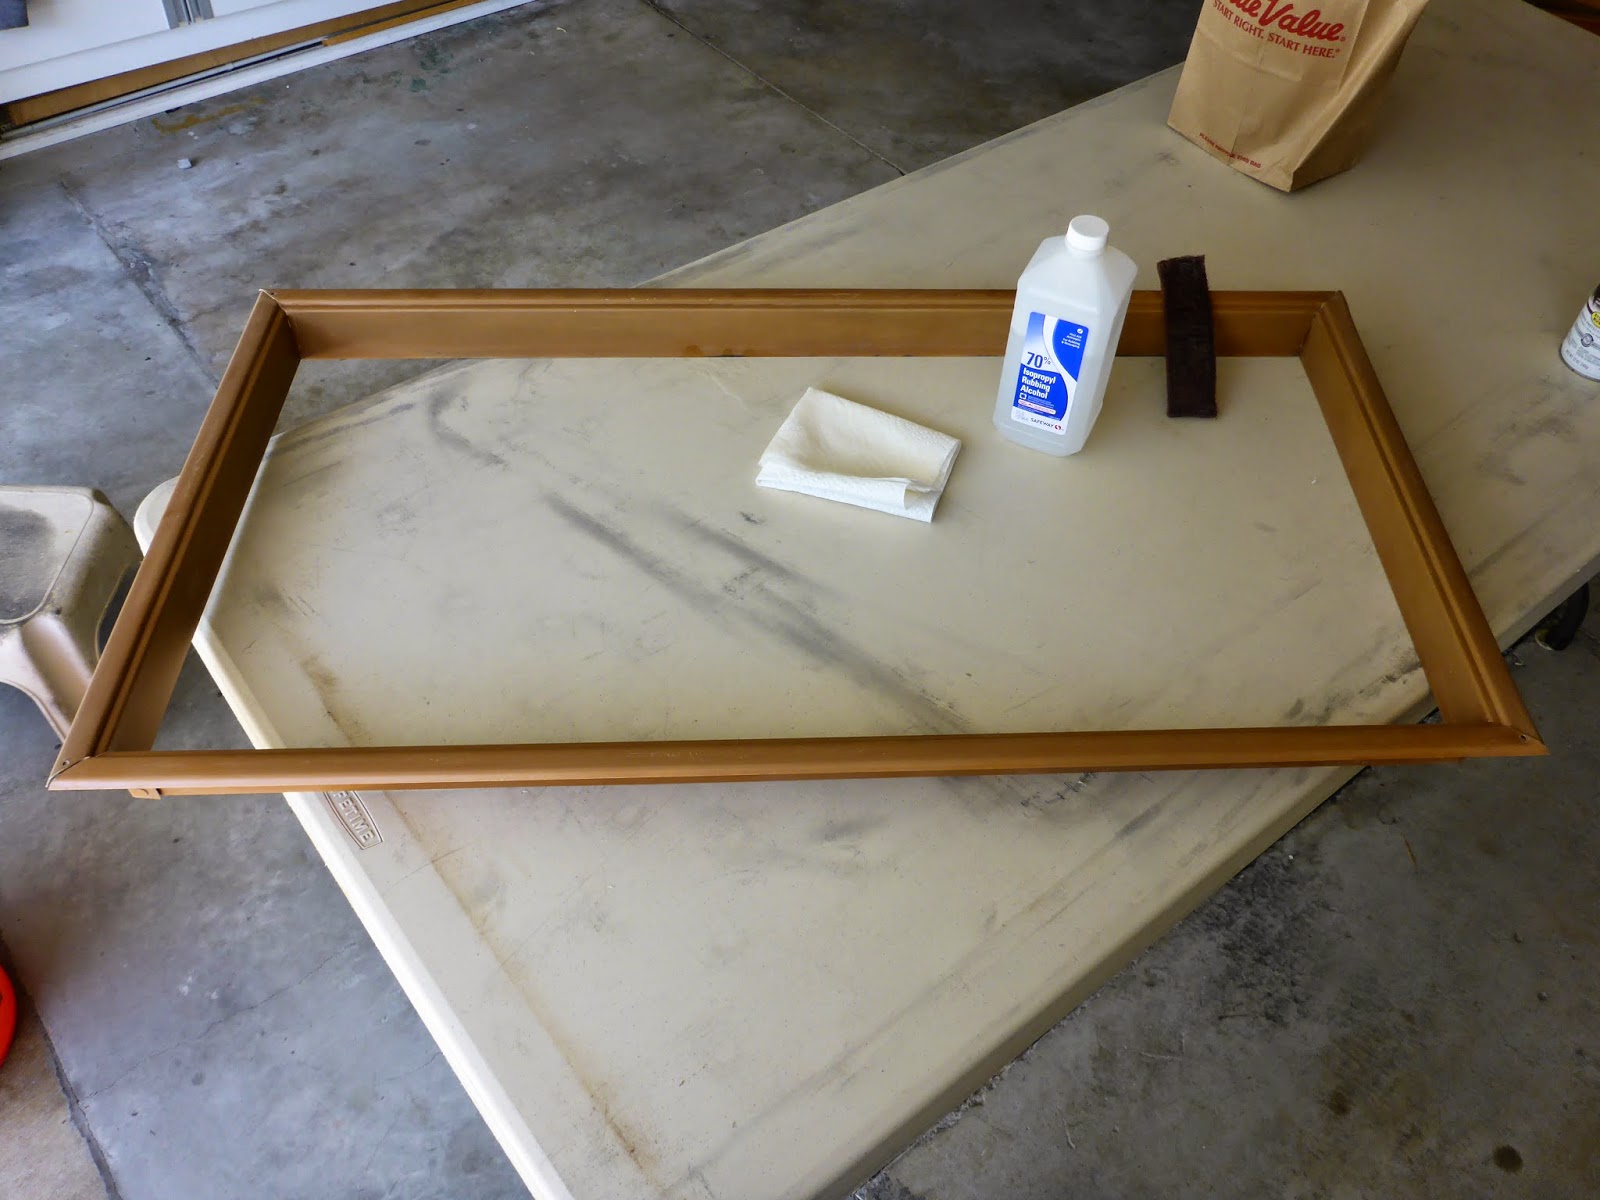
3. Clean the window
    - 409 to remove the grime
    - Wire brush to clean the seal surfaces
    - Scotch brite on the inside and outside exposed faces
    - pressure wash and dry
4. Apply butyl tape to the window and short strips to the lower surfaces of the corrugated trailer skin
5. Mount window with stainless steel screws
6. Trim off excess butyl tape
7. Calk edges of window and eyebrow with TremPro 635 Polyurethane Sealant

I'll be glad when this is done.
That beige stuff is like concrete
Only a wire brush wheel will take it off!


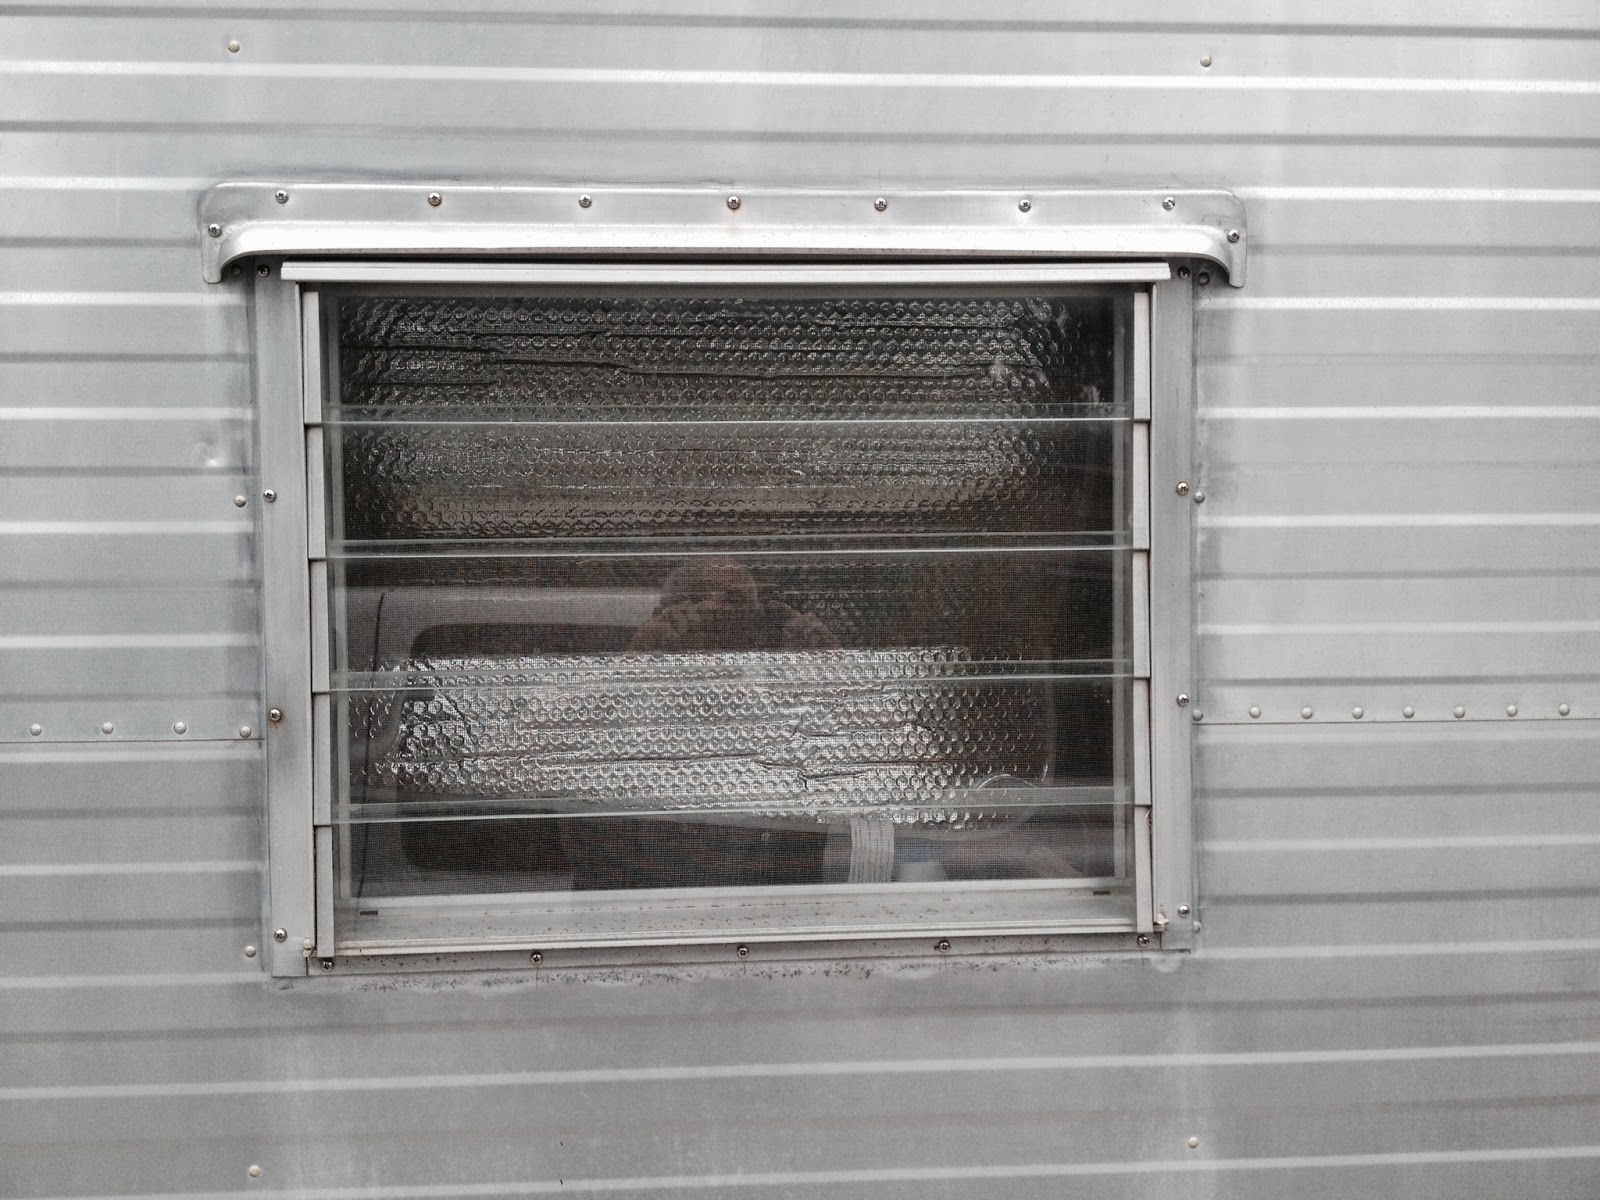
I hope my polisher can clean up the corrosion under the windows. 

Wire brush wheel skid mark

Friday, May 30, 2014

New Vent Hoods Installed

Like I was saying I picked up some cool "retro" aluminum vent hoods for Loretta on ebay.  They came today and I installed them this afternoon.
The old vent hoods
The new

Thursday, May 29, 2014

And So It Begins

So I took the week off from work to surf and work on Loretta. I began with the roof. Somebody in Loretta's past sealed the roof with an aluminumized mastic, the kind used for asphalt repair.  NO BUENO!

It took me 3 full days to scrape and clean off that mess, just in the area around the vents, rivets and lap seams. I'm going to leave the rest of it there, nobody looks on top anyway :-P


I then painstakingly filled all the lap seams and every rivet with Captain Trolly's Creeping Crack Cure just in case. Once that dried I wire brushed the lap seams back to bare metal and sealed them up with TremPro 635 Polyurethane Sealant.  I'm no pro at doing this so it isn't pretty. But I can guarantee it won't leak. 


What you see here represents 4 days work. I bought some new "retro" vent hoods on ebay, they should arrive in a day or two. Meanwhile I started on the rear windows.  Pulled the eyebrow and windows and discovered the original seals with a lame attempt at a repair. More scraping and wire brushing. Got the windows back in with Butyl tape, stainless steel screws and sealed the top with more polyurethane. Going to leave the eyebrow off for now so I can polish the area.


Tuesday, May 20, 2014

Purchased Sight Unseen

Here are a few pictures of Loretta from the previous owner.  We purchased it sight unseen and had the old axle with hydraulic brakes and split rim tires replaced with a 3500lb Dexter axle with electric brakes and new tires before having it towed out to California from Colorado.


Marvel Fridge

Dixie Stove